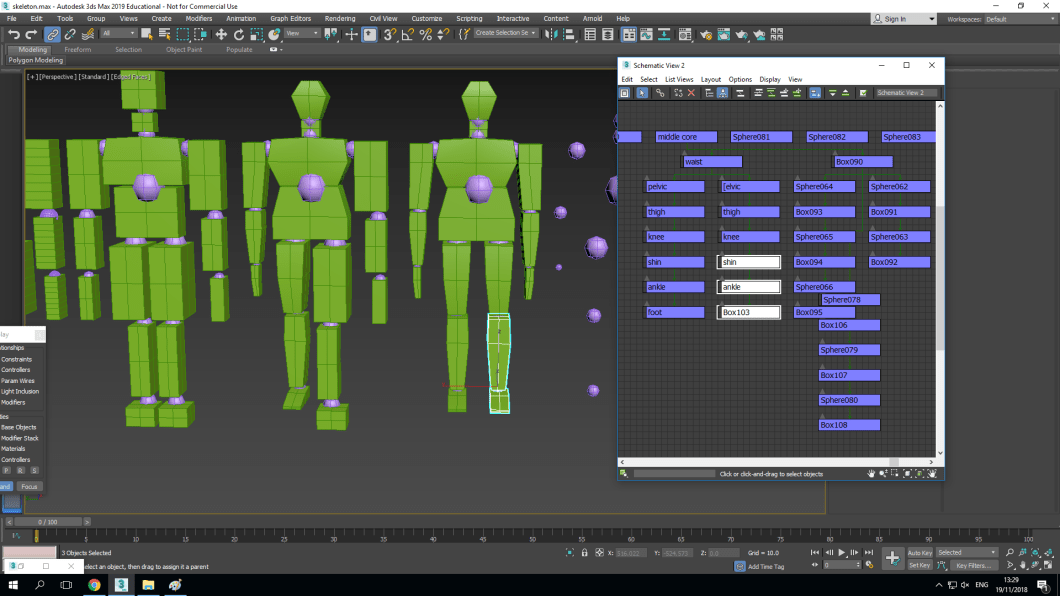
in this image you can see the hierarchy of the limbs and how it connects in order and meets with the midcore, which in this case is the spear which is in the middle of the character acting out as the stomach. Each segment is kept in order so if I needed to unlink anything I can do it via schematic view, instead of trying to unlink it from the character itself.
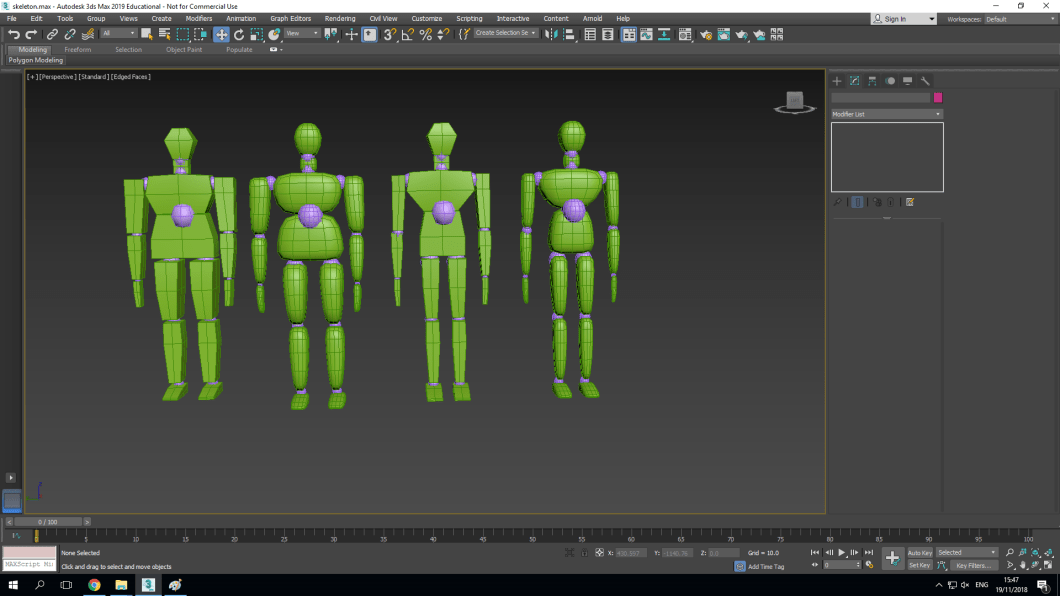
Now I know I wanted to make the character more “human” like but, that would more skills then this so I kept to the robotic look but made extra alterations where the final product is more slender and smooth, with wider chest and shoulders.
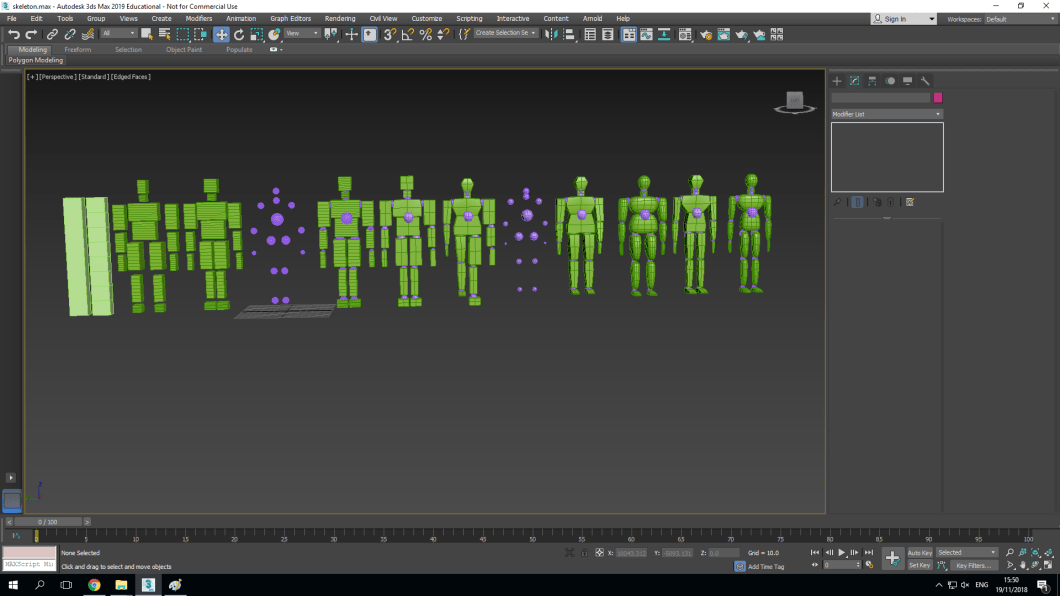
I full view of my progression from where I started to where I have ended with my character development.
