I will explain to my best effort on how I managed to get a video on Ue4 and then a video on the next blog of what the video looked like on Ue4 and also how the obs capture could not capture the video properly.
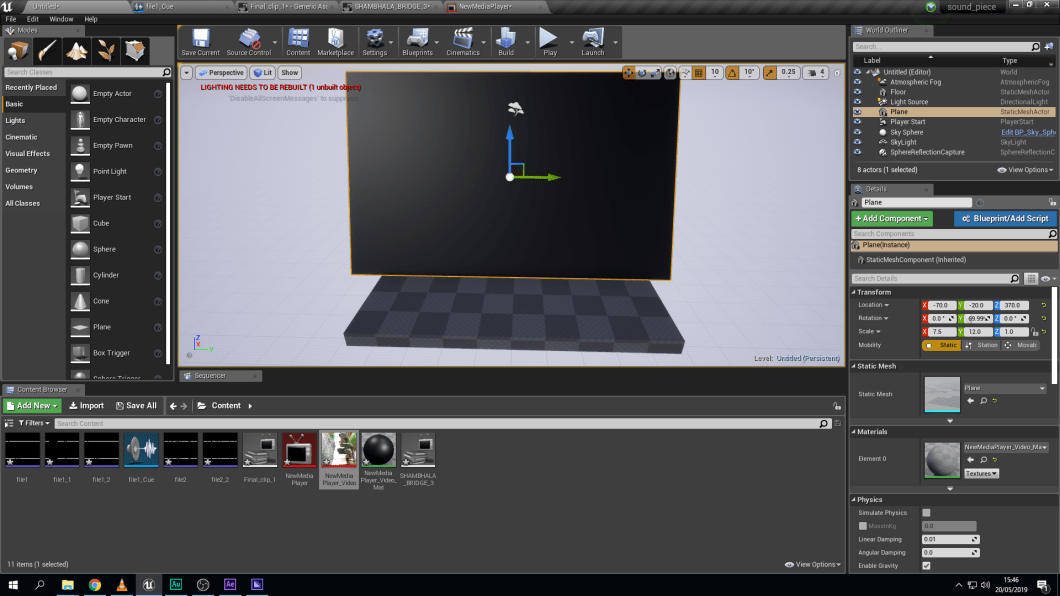
First off all I inserted a plane in the world which would be my “cinema screen” and that would the surface which the movie will be “projected” on. I then imported my movie into Ue4 as an MP4 file. The way I imported the video was by going on content browser and adding a new content. Once I imported the video it came up with a small tab which looks like a grey TV with files in-front, you right click that to select media player which would open another tab with a TV that has a crimson red background.
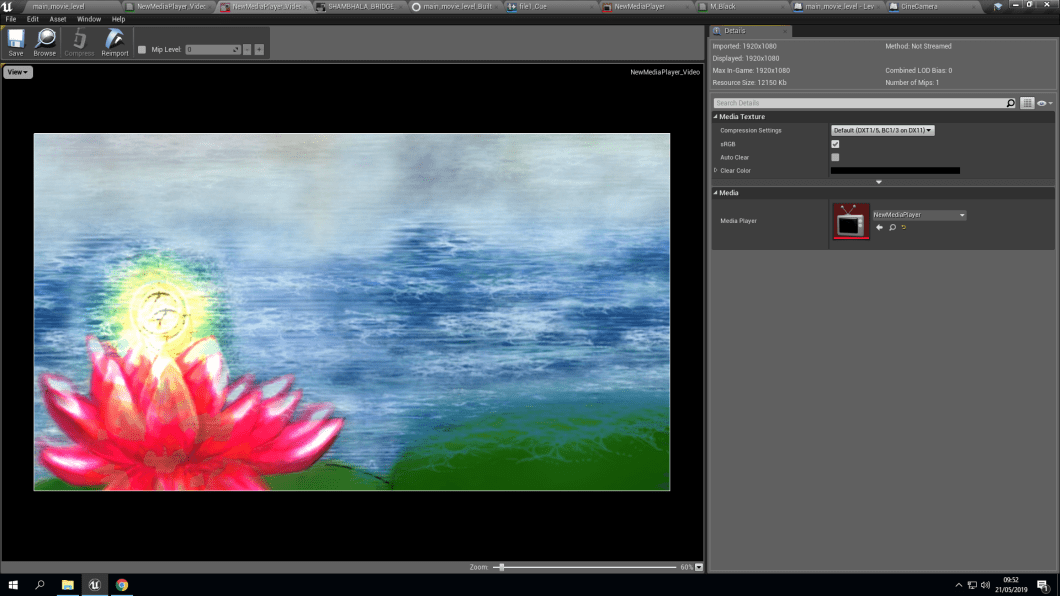
In the Create Media Player window, enable the Video out Media Texture asset option then click OK.
This will create a Media Texture asset and automatically assign it to the Media Player we are creating. The Media Texture is responsible for playing back the media content and we can use this to create a Material that will be applied to a Static Mesh in our level a little later in this guide.
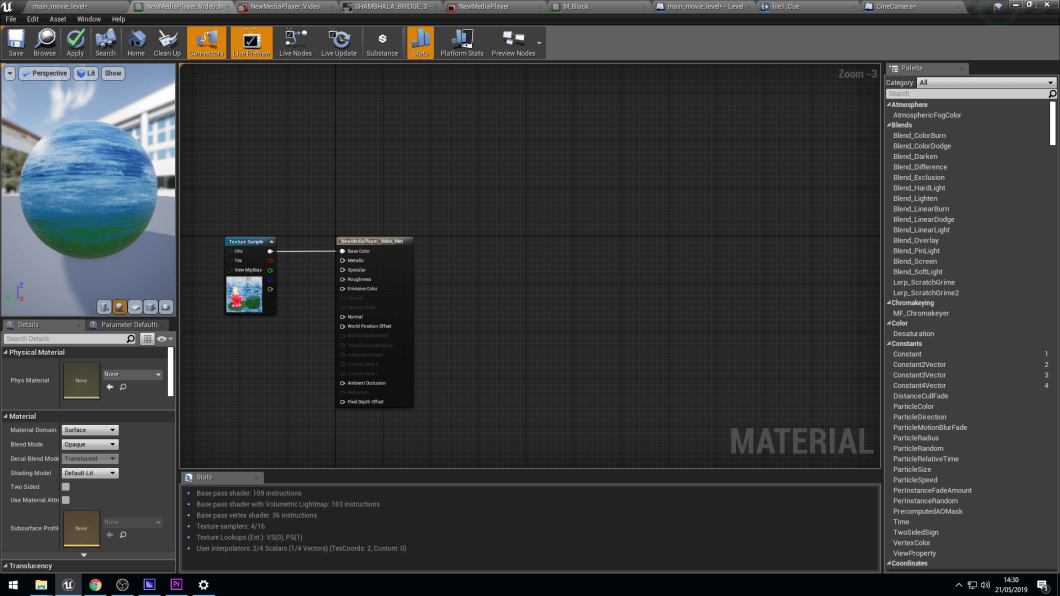
That’s the media texture which would be projected or used as a texture on the plane.
I had kept the plane very thin for aesthetic reason and you can see the video texture in the content browser section.
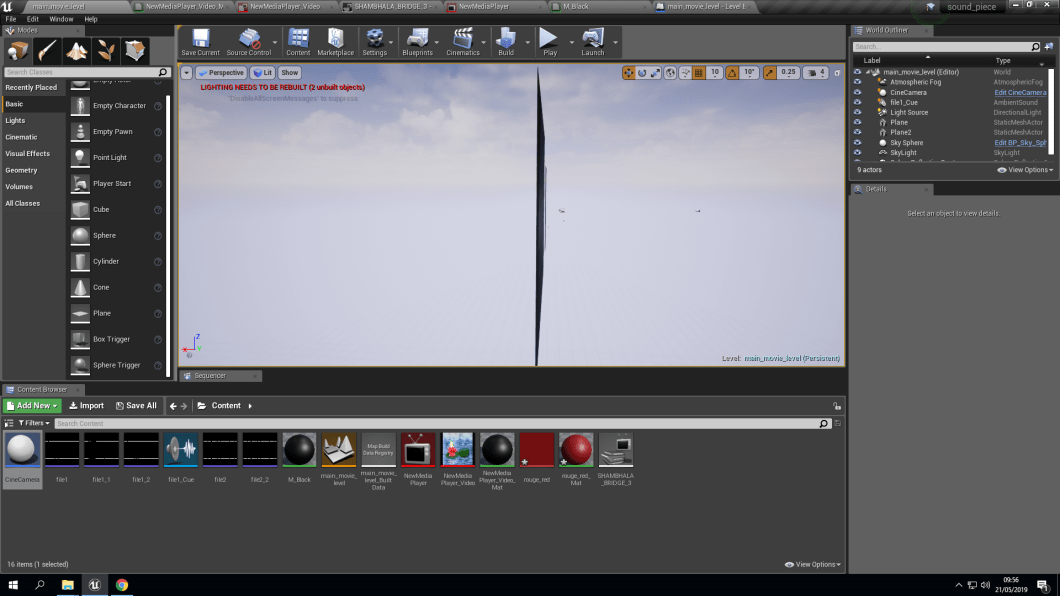
After getting the texturing done I need to make a level blueprint so, the machine Ue4 would know that this particular video needs to be played when you hit the play button.
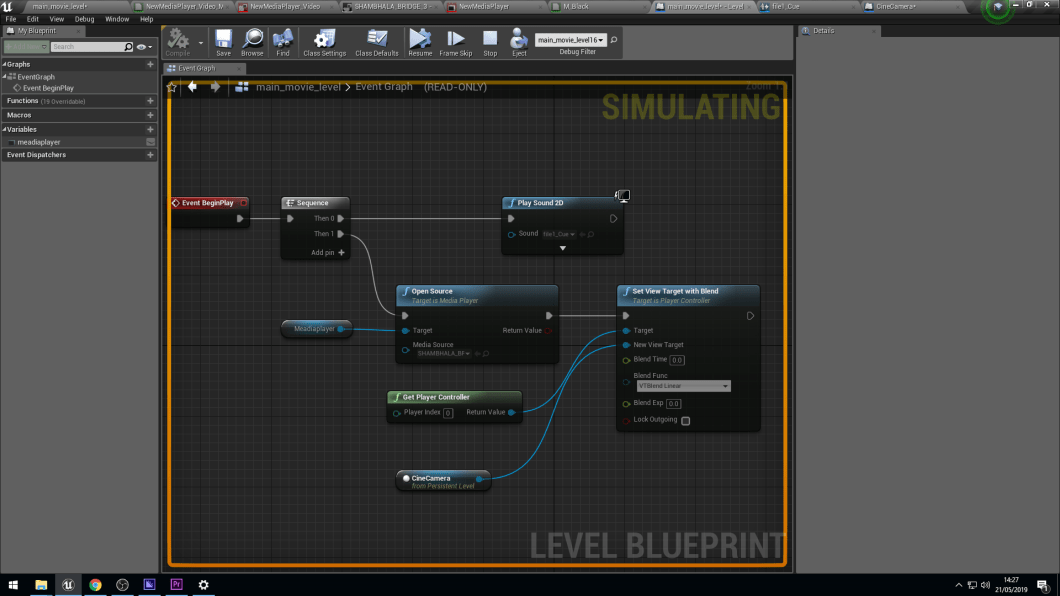
In here I am telling Ue4 to play 2 source of media, one being the video and the other being the sound, so both media would start at the same time. This has been achieved by creating a sequence node, where one arrow would be attached to a node that plays 2D sound and the 2nd one is to say that play the captured video from the media file that has been created as a texture for the plane.
